 How to install the vBoxx Sync Client?
The Sync Client is an application that synchronizes all the files and folders from vBoxxCloud to your computer. All the files are automatically synchronized, so whether you upload a document through the web interface or through the sync tool you will have it wherever you go.
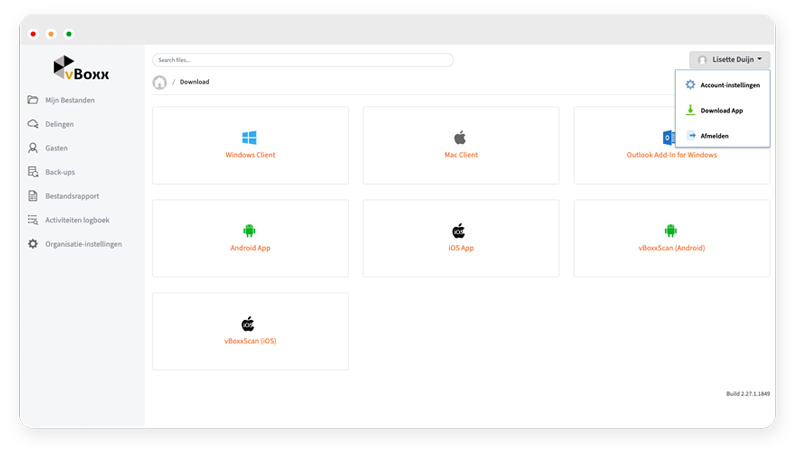
1. To download the Sync Client, you have to login to your vBoxxCloud account via the web browser, web.vboxx.nl. On the top right corner, you will find Download vBoxx Sync App. Select the version that corresponds to your Operating System.
2. After downloading the the setup fie, open the vBoxx Sync Tool Installer to proceed with the installation. Click Next in the welcome screen and after accepting the License Agreement, click Next.
3. Select the installation language and click OK to proceed with the setup.
4. Press Next and fill in your login details. Press Next and in the following screen choose Typical. Press Next to move on to the next screen.
5. If you would like to select which folders you want to sync, select the first option, otherwise you can skip it and select which folders to sync later.
6. If you selected the first option you will be presented with a list of folders to select from.
7. Once you have selected which folders to sync down, click Next and then Finish to complete the vBoxx Sync Tool installation.