Setting up Let's Encrypt SSL Certificate
After you have ordered an Webhosting package from vBoxxCloud you can set up a free and automatic SSL certificate, from Let's Encrypt, in the DirectAdmin panel.
- First, login to your DirectAdmin Control panel. This can be done from your Client Portal or directly from the webhosting email you have received.
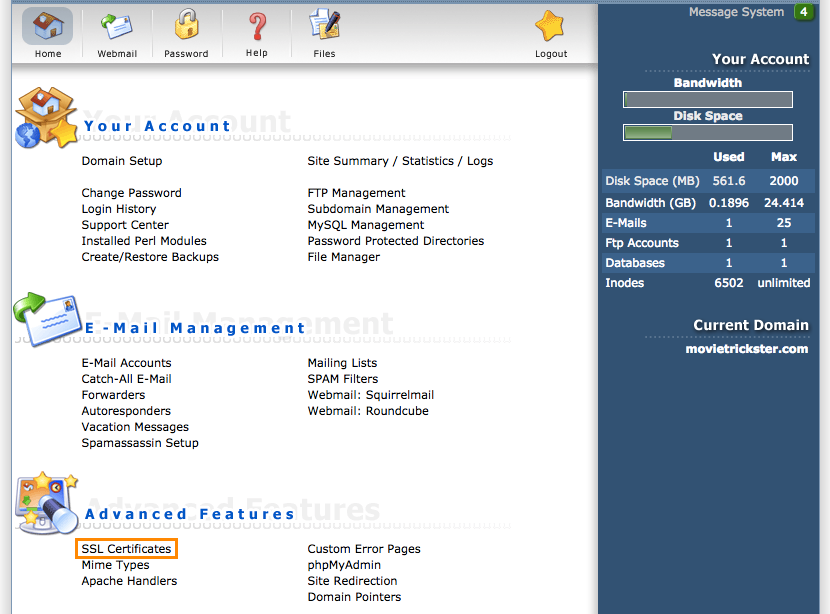
- In the DirectAdmin Control Panel, at the bottom, in the Advanced Features section, click on SSL Certificate.
- In the SSL Certificates area, select the Free & automatic certificate from Let's Encrypt option, fill in your email address and click Save.

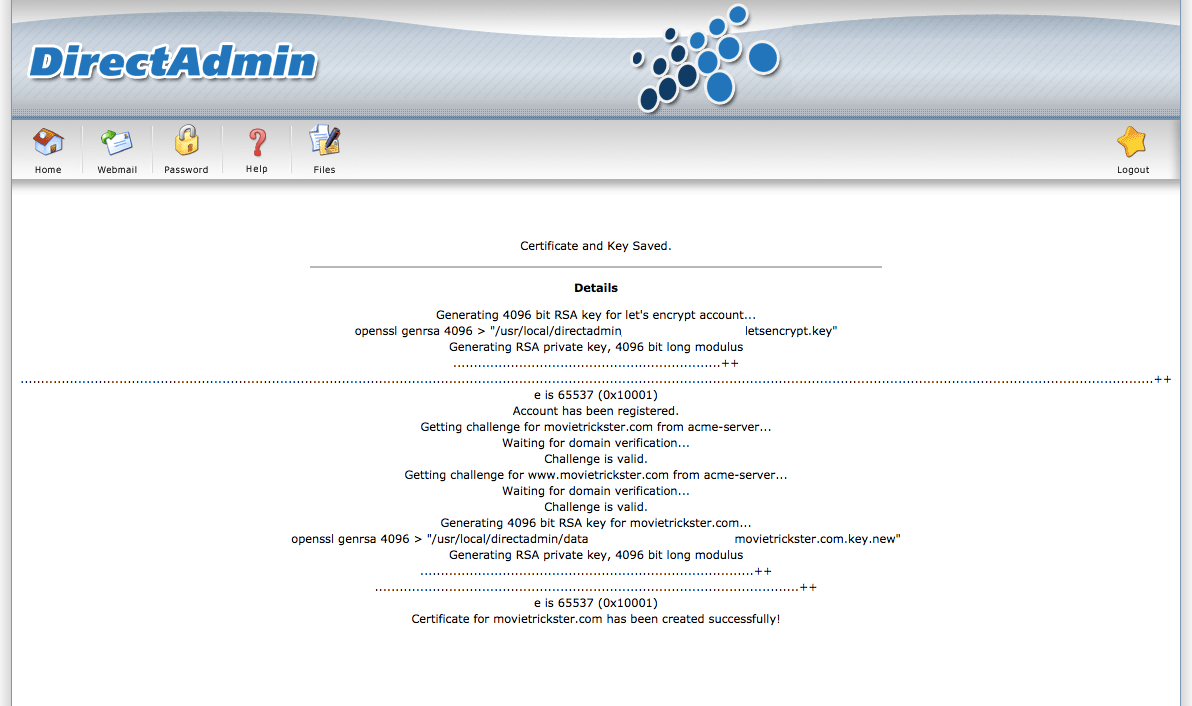
- The DirectAdmin control panel will automatically generate the SSL CSR (Certificate Signing Request), confirm your website status, and get the SSL certificate from Let's Encrypt. Once the process is completed you will see the message "Certificate for xxx.com has been created successfully".
- Now, you will need to enable the SSL Certificate on your website. Go back to the DIrectAdmin control panel, and click on Domain Setup.

- In the Domain Setup section, click on your domain name.

- Select Secure SSL and click Save. You may consider to choose "Use a symbolic link from private_html to publick_html - allows for same data in http and https".
Note: this will remove the folder /domains/xxx.com/private_html, and create a symbolic link from private_html to public_html for folder sharing. In most circumstances, the folder private_html is not in use.

- The System will ask you to agree to delete the private_html directory, click Ok to finish.

- After receiving confirmation of the changed settings, wait around 5 minutes, and you can start visiting your website via https protocol.

- To make sure every visitor, accesses the https address, you should force all web-traffic to the secure address. In the DirectAdmin control panel select File Manager.

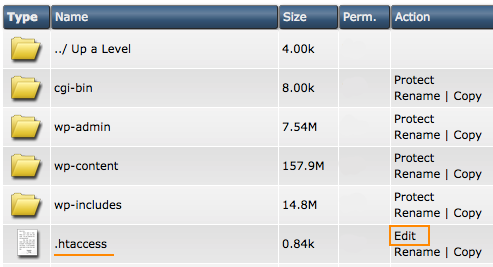
- Access the Public HTML folder, and click edit on the right of .htaccess.

- In your .htaccess file, add the following lines to the file, replacing https://www.example.com with your domain name. See the images below for more information on where to add the info.
RewriteCond %{SERVER_PORT} 80
RewriteRule ^(.*)$ https://www.example.com/$1 [R,L]
3

- Your visiting your website a Green Lock and https:// should be visible in green.
